Introduction

SonarQube是一个开源的代码质量管理平台,它能够快速分析并定位代码中明显或潜在错误信息,目前支持20+种语言,并且有很多插件Plugins可以集成。接下来将大致讲解SonarQube的安装、配置及使用。

Installation

以下所有操作均在CentOS下进行,其他系统的过程基本类似,只需要替换成对应命令即可,假设CentOS分配的IP地址为192.168.56.105

Install the SonarQube

首先到SonarQube Download页面下载压缩包,然后解压到~/sonarqube文件夹,最后运行命令启动服务,需要Java8运行环境支持。

1
2
3
$ ~/sonarqube/bin/linux-x86-64/sonar.sh start # 启动SonarQube服务
Usage: ./sonar.sh { console | start | stop | restart | status | dump }

然后访问http://192.168.56.105:9000将能够看到SonarQube页面,这里需要替换成你的IP地址,SonarQube会默认监听9000端口。
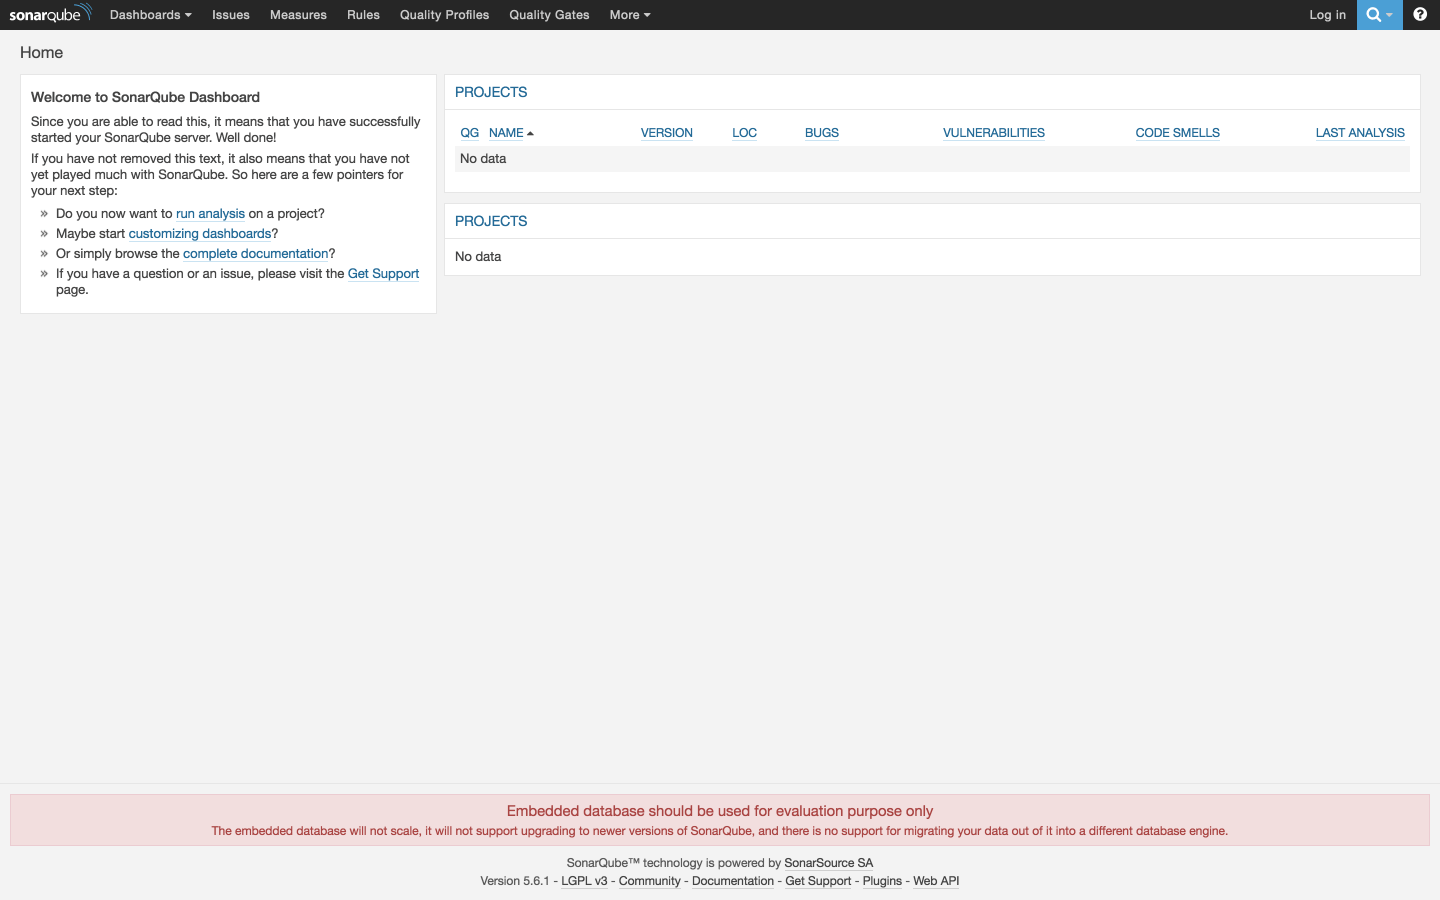
其中,默认的管理员登录用户名和密码为:

  • Login: admin
  • Password: admin

虽然可以访问了,但当前SonarQube使用的是Embedded数据库,只能用于评估目的,不支持扩展和升级,更不支持数据迁移,因此强烈建议安装一款数据库引擎,不过别着急,稍候会涉及到配置PostgreSQL的操作过程。

Install the Scanner

为了实现扫描项目代码并上传到SonarQube Server的目的,需要再到SonarQube Scanner Download页面下载压缩包并解压,如解压到~/sonar-scanner

1
2
3
4
5
6
7
$ ~/sonar-scanner/bin/sonar-scanner --version
INFO: Scanner configuration file: ~/sonar-scanner/conf/sonar-scanner.properties
INFO: Project root configuration file: NONE
INFO: SonarQube Scanner 2.6.1
INFO: Java 1.8.0_66 Oracle Corporation (64-bit)
INFO: Linux 3.10.0-327.18.2.el7.x86_64 amd64

Configuration

为了使用SonarQube的更多功能,支持扩展、升级和数据迁移,需要配置SonarQube,若安装目录为~/sonarqube,则需要在安装目录中的conf/sonar.properties中配置一些参数,主要针对数据库引擎配置和WEB访问地址和端口配置。

Database

以配置PostgresSQL为例,首先需要确保安装了PostgresSQL数据库引擎。

1
2
3
4
5
6
7
# Database Configuration
sonar.jdbc.username=postgres # 好的方式是单独创建一个用户,并且授予读写库权限
sonar.jdbc.password=postgres # 若postgresql设置trust本机,则无需提供密码,md5时需提供密码
# PostgreSQL URL
sonar.jdbc.url=jdbc:postgresql://localhost/sonarqube # 需要先创建sonarqube数据库
# MySQL JDBC URL
# sonar.jdbc.url=jdbc:mysql://localhost:3306/sonar?useUnicode=true&characterEncoding=utf8&rewriteBatchedStatements=true&useConfigs=maxPerformance

在命令行中登录postgresql,创建命为sonarqube的数据库,这里为了方便,直接使用postgres用户。

1
2
$ psql -U postgres
$ CREATE DATABASE sonarqube WITH OWNER postgres ENCODING 'UTF8';

假设遇到了postgresql的登录问题,需要以root权限在/var/lib/pgsql/data/pg_hba.conf中修改localhost127.0.0.1peertrustmd5

1
2
3
#TYPE DATABASE USER ADDRESS METHOD
local all all trust
host all all 127.0.0.1/32 trust

更多其他数据库配置可以参阅Installing the Server

Web

可以修改sonar.properties中的Web相关配置控制访问地址和端口。

1
2
3
4
5
# The default port is "9000" and the context path is "/".
# These values can be changed in sonar.properties.
sonar.web.host=0.0.0.0
sonar.web.port=80
sonar.web.context=/sonarqube

若以80端口启动,可能会遇到权限的错误,需要切换为root用户运行sonar启动命令,可在~/sonarqube/logs/sonar.log中查看日志。

1
2
3
4
...
Failed to initialize end point associated with ProtocolHandler ["http-nio-0.0.0.0-80"]
java.net.SocketException: Permission denied
...

配置完成后重启SonarQube服务,再访问http://192.168.56.105/sonarqube,并且页面底端的红色警告消失了。

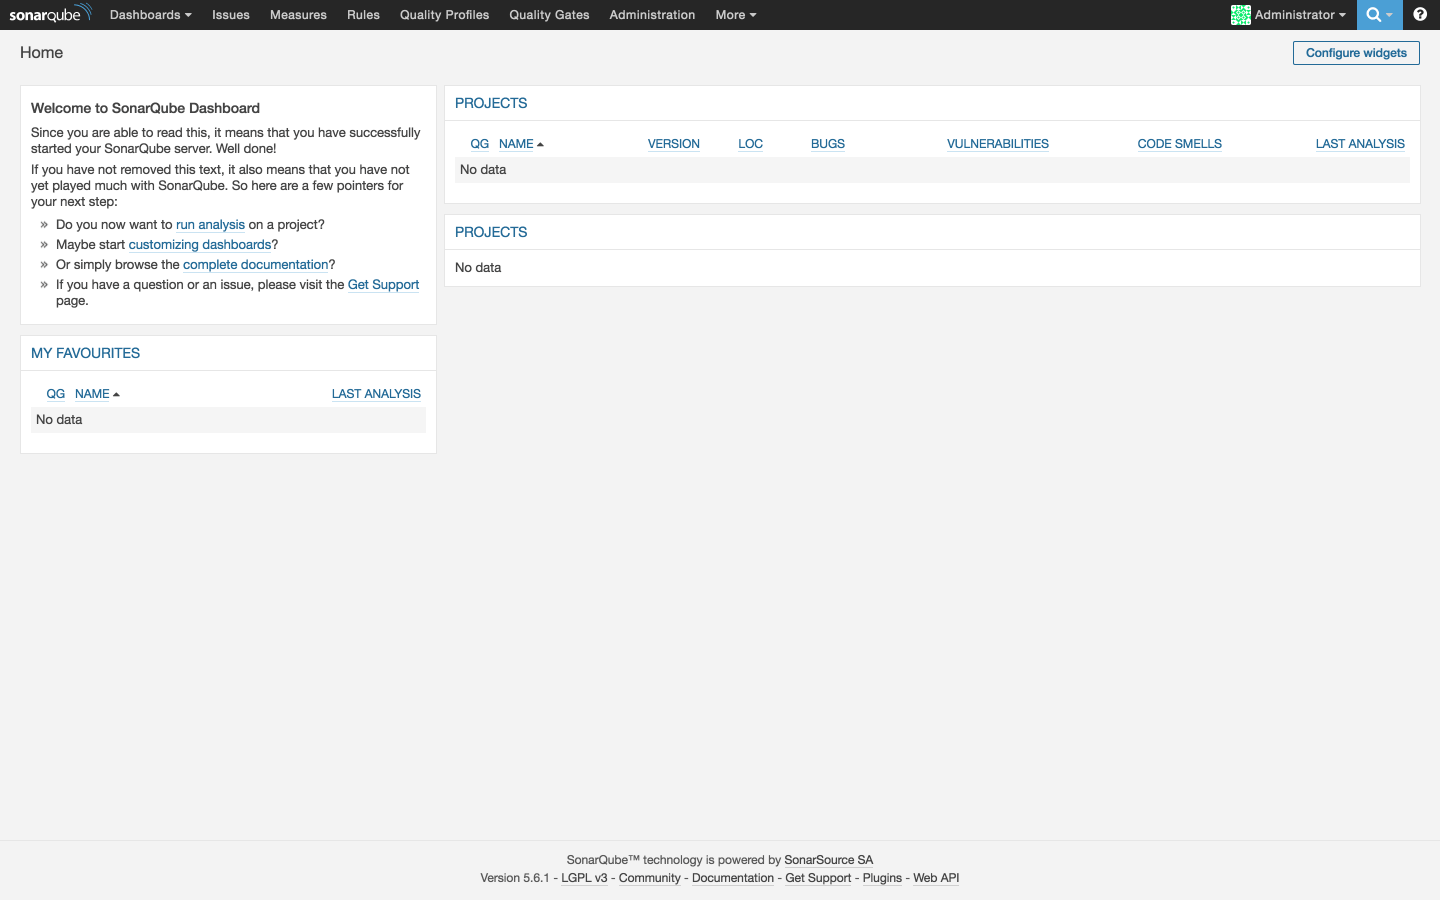
Analyzing with Scanner

Runner

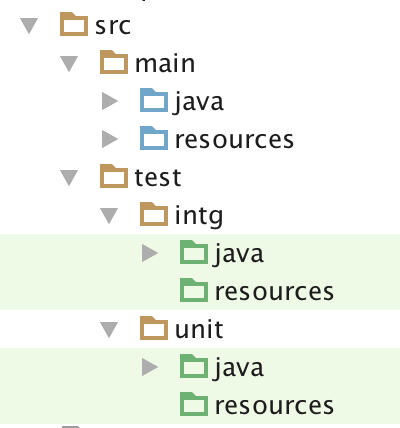
通常可以直接运行Runner实现对支持语言的项目代码进行扫描。假设Sonar Scanner被解压到~/sonar-scanner文件夹中,随意找一个项目代码,并在其中添加sonar-project.properties配置文件,针对Java项目的配置如下:

1
2
3
4
5
6
7
8
9
10
11
12
13
14
15
16
17
18
19
20
21
22
23
# Default SonarQube server
# sonar.host.url=http://localhost:9000
sonar.host.url=http://192.168.56.105/sonarqube
# Must be unique in a given SonarQube instance
sonar.projectKey=twee:qas-service
# This is the name displayed in the SonarQube UI
sonar.projectName=QAS Service
sonar.projectVersion=1.0
# Comma-separated paths to directories with sources
# Path is relative to the sonar-project.properties file. Replace "\" by "/" on Windows.
# Since SonarQube 4.2, this property is optional if sonar.modules is set.
# If not set, SonarQube starts looking for source code from the directory containing
# the sonar-project.properties file.
sonar.sources=src
# Language
sonar.language=java
# Encoding of the source code. Default is default system encoding
sonar.sourceEncoding=UTF-8

如果暂时自己没有适合的代码,也可以使用官方提供的Project Samples,然后在项目代码目录下运行如下命令进行Sonar Scanner扫描代码。

1
~/sonar-scanner/bin/sonar-scanner # 当然也可以直接把bin目录加入环境变量中

运行后sonarqube runner后,界面上显示一条最新的Item记录:

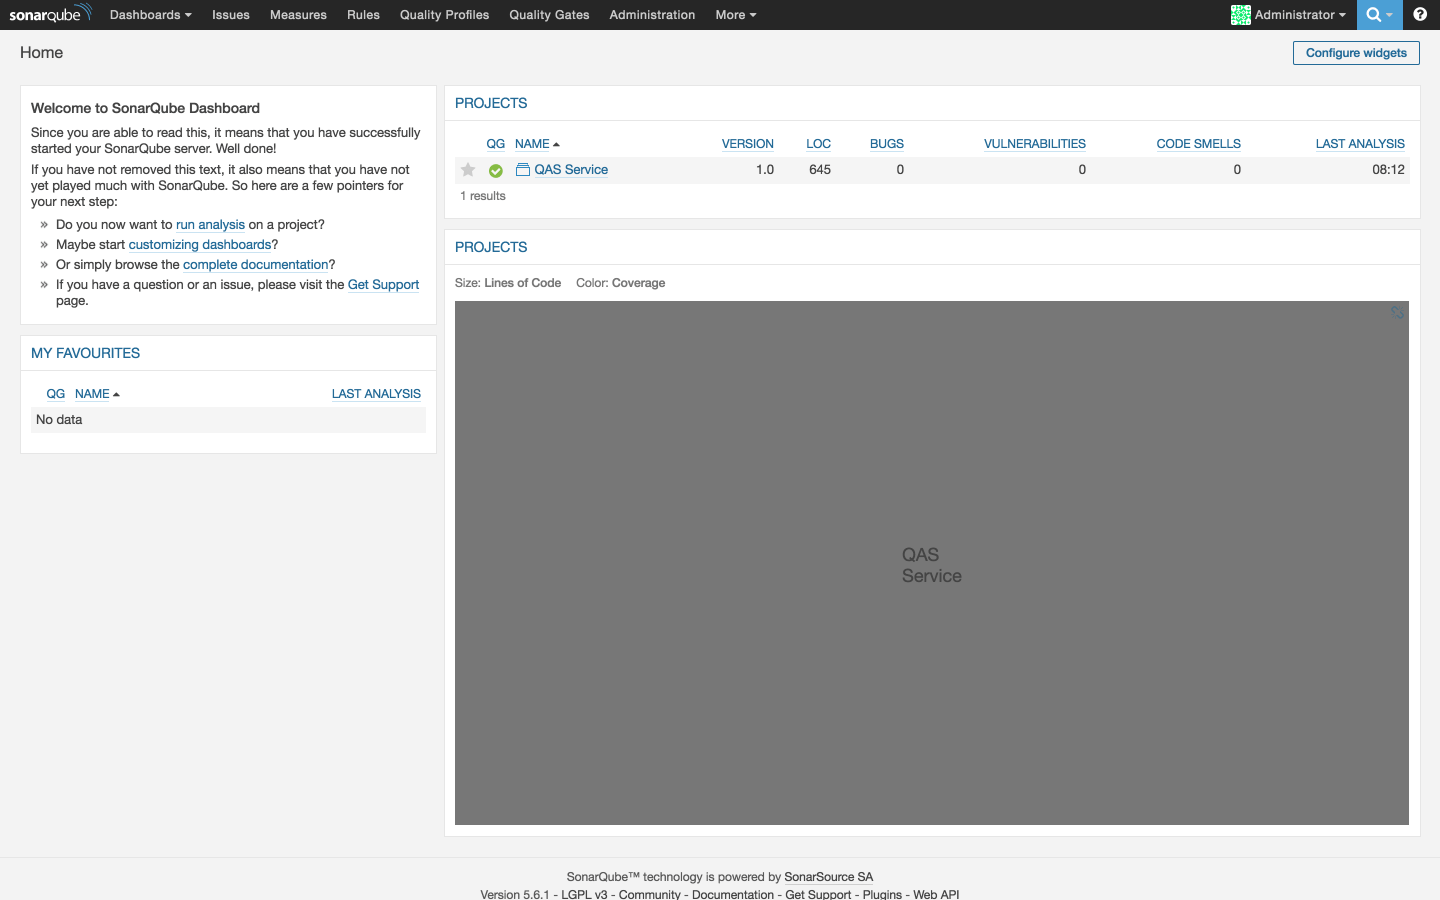
更多配置和用法可以参阅Analyzing with SonarQube Scanner

Gradle

SonarQube支持Gradle 2.0以上的版本,以下来将配置build.gradle文件,使得支持SonarQube任务。

1
2
3
4
5
6
7
8
9
10
11
12
13
// Uses DSL plugins resolution introduced in Gradle 2.1
plugins {
id "org.sonarqube" version "2.0.1"
}
sonarqube {
properties {
property "sonar.projectName", "QAS Service"
property "sonar.projectKey", "tw.wee:qas-service"
property "sonar.projectVersion", "v1.0"
property "sonar.jacoco.reportPath", "${project.buildDir}/jacoco/test.exec"
}
}

还需要在gradle.properties中配置SonarQube地址和登录信息:

1
2
3
4
5
systemProp.sonar.host.url=http://192.168.56.105/sonarqube
# 当sonar.forceAuthentication被设置成true时需要提供登录信息
sonar.login=admin
sonar.password=admin

Gradle的Task为:./gradlew sonarqube,并且可以指定HOST和PASSWORD,这样就避免了把密码明文写在配置文件中。

1
./gradlew sonarqube -Dsonar.host.url=http://xxx/sonar -Dsonar.jdbc.password=*** -Dsonar.verbose=true

运行sonarqube tasks后,刷新界面,又多了一条新记录:
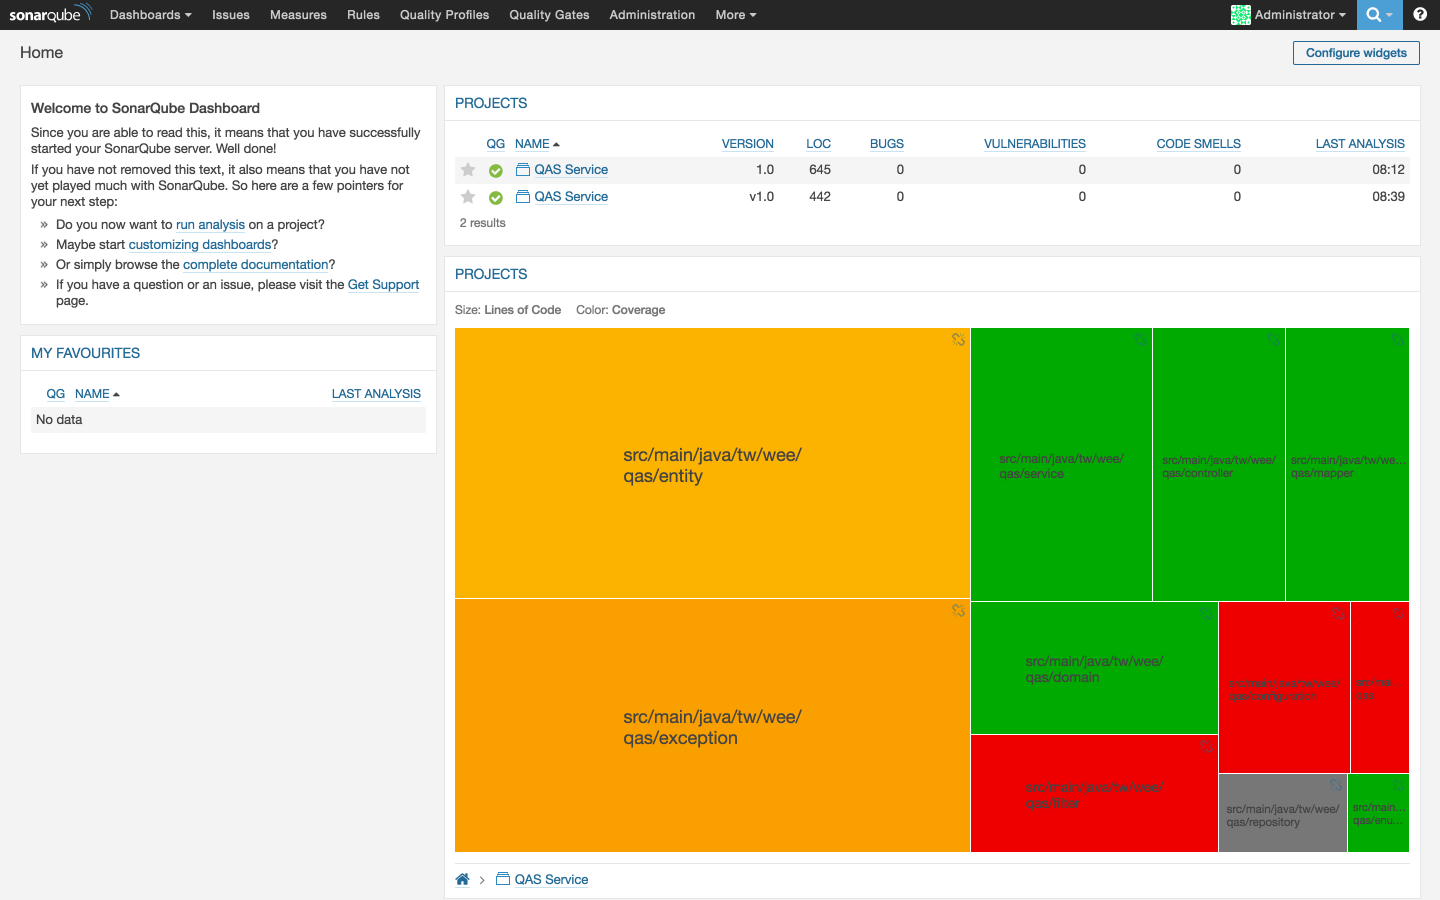
点击进入查看详细扫描结果:

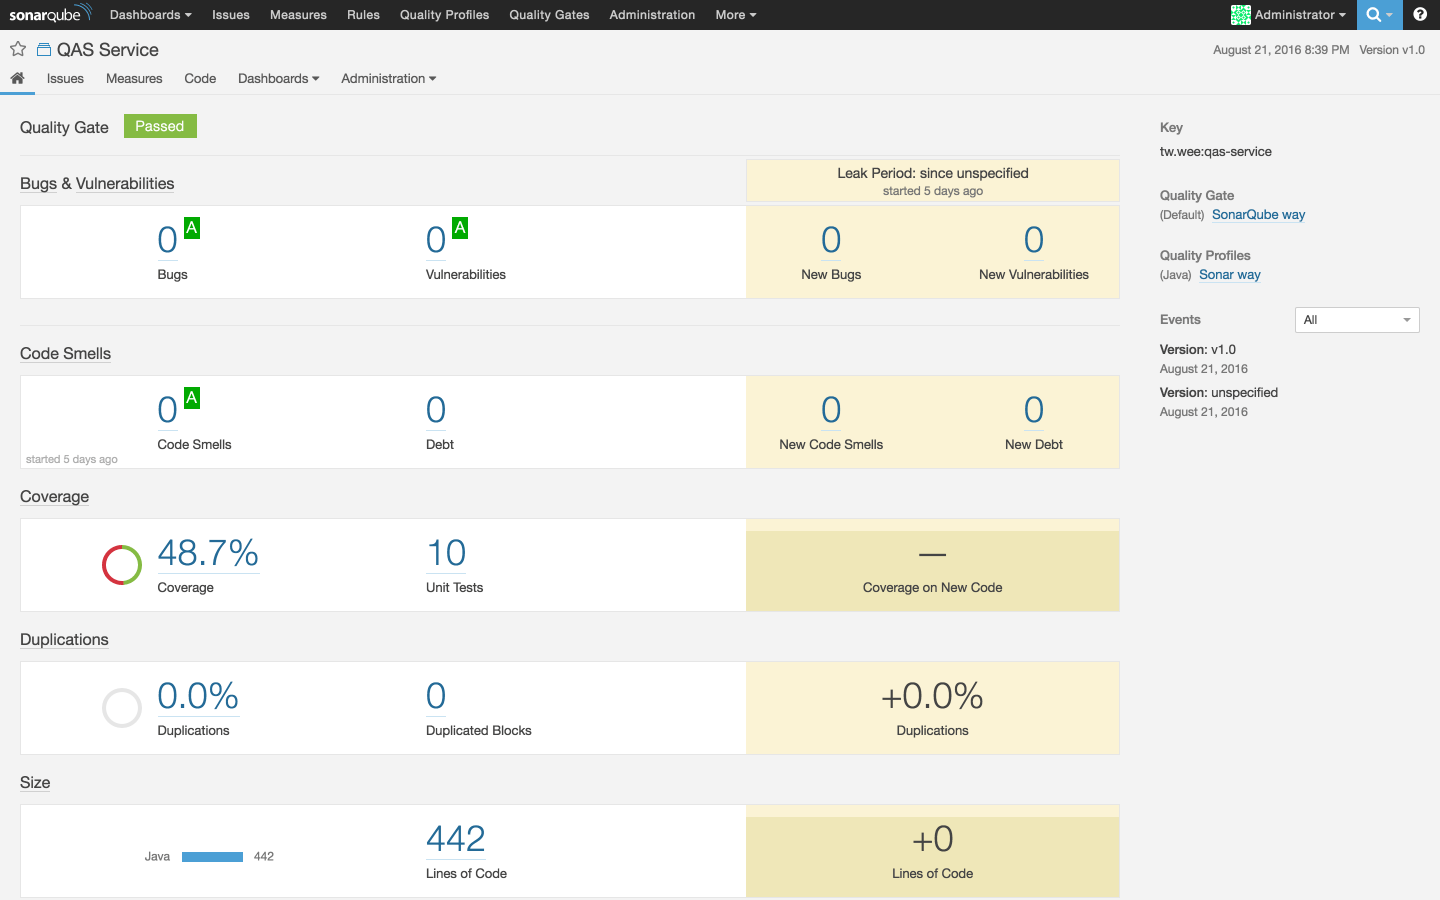
更多关于Gradle的配置可以参阅Analyzing with SonarQube Scanner for Gradle

SonarQube扫描还可以与Jenkins集成,有兴趣可以参阅Analyzing with SonarQube Scanner for Jenkins实现步骤。

除此之外,还可以对SonarQube的Dashboard进行配置,针对项目选择并添加一些需要关注和分析的Widget。
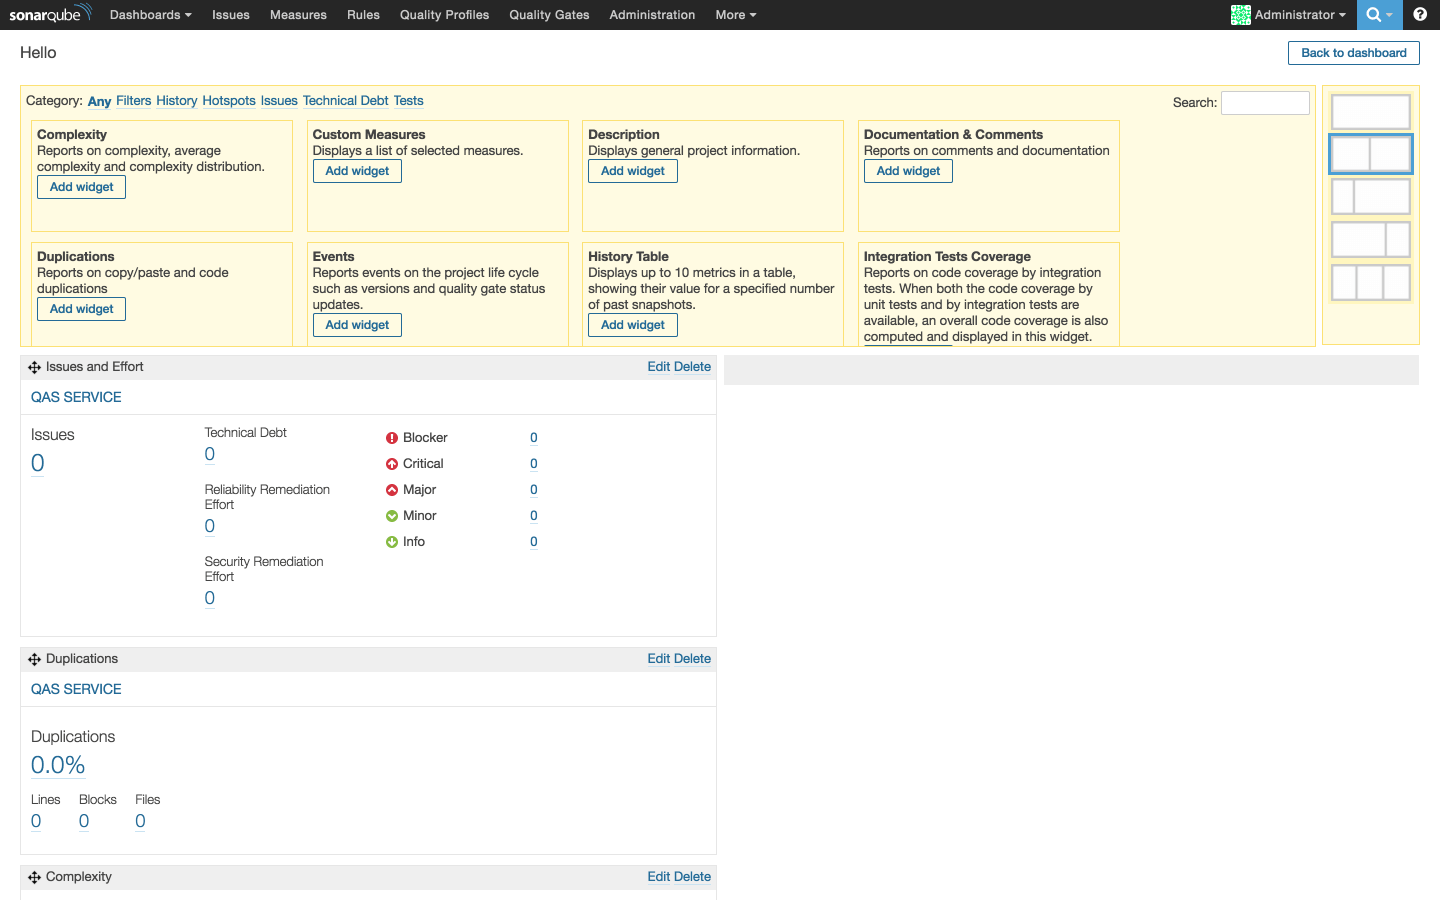

References