在使用Git时,通常会选择使用一个项目代码托管平台,这样的平台可以有很多选择,比如目前最流行的面向开源及私有软件项目的托管平台是GitHub,还有一些其他优秀的平台,如Atlassian的BitbucketGitLabCoding.NET、开源中国的码云CSDN.NET等,不仅可以使用Public和Private服务,还可以付费搭建定制服务,不过有些跑题了,本文中只关注使用简单的命令快速搭建共享服务器仓库。另外,关于Git的使用,可以参阅 优雅地使用Git 了解更多内容,这里也不会再涉及Git命令细节。

创建服务器仓库

先创建一个文件夹名为demo.git,在其中使用命令创建裸仓库(作为服务器仓库):

1
2
3
4
5
6
7
8
9
10
11
12
13
14
15
16
17
18
19
20
21
22
23
24
25
26
27
28
29
git init --bare
# > ls
# HEAD branches config description hooks info objects refs
# > tree -a
.
├── HEAD # 指向当前所处的分支
├── branches # 包含的Git分支信息
├── config # Git仓库的配置文件
├── description # Git仓库的描述信息
├── hooks # 一些shell钩子脚本
│   ├── applypatch-msg.sample
│   ├── commit-msg.sample
│   ├── post-update.sample
│   ├── pre-applypatch.sample
│   ├── pre-commit.sample
│   ├── pre-push.sample
│   ├── pre-rebase.sample
│   ├── prepare-commit-msg.sample
│   └── update.sample
├── info # 包含仓库的一些信息
│   └── exclude
├── objects # Git仓库的所有对象
│   ├── info
│   └── pack
└── refs # 标识分支指向的提交
├── heads
└── tags

与使用git init命令创建的目录不太一样,其中并没有.git目录,而是直接在工程目录下列出了其他的目录,并且可以查看到config中的内容bare=true

1
2
3
4
5
6
[core]
repositoryformatversion = 0
filemode = true
bare = true
ignorecase = true
precomposeunicode = true

如果期望将普通的Git仓库转换为服务器仓库,可以使用如下命令进行转换,克隆出.git内容作为服务器仓库:

1
git clone --bare xxx

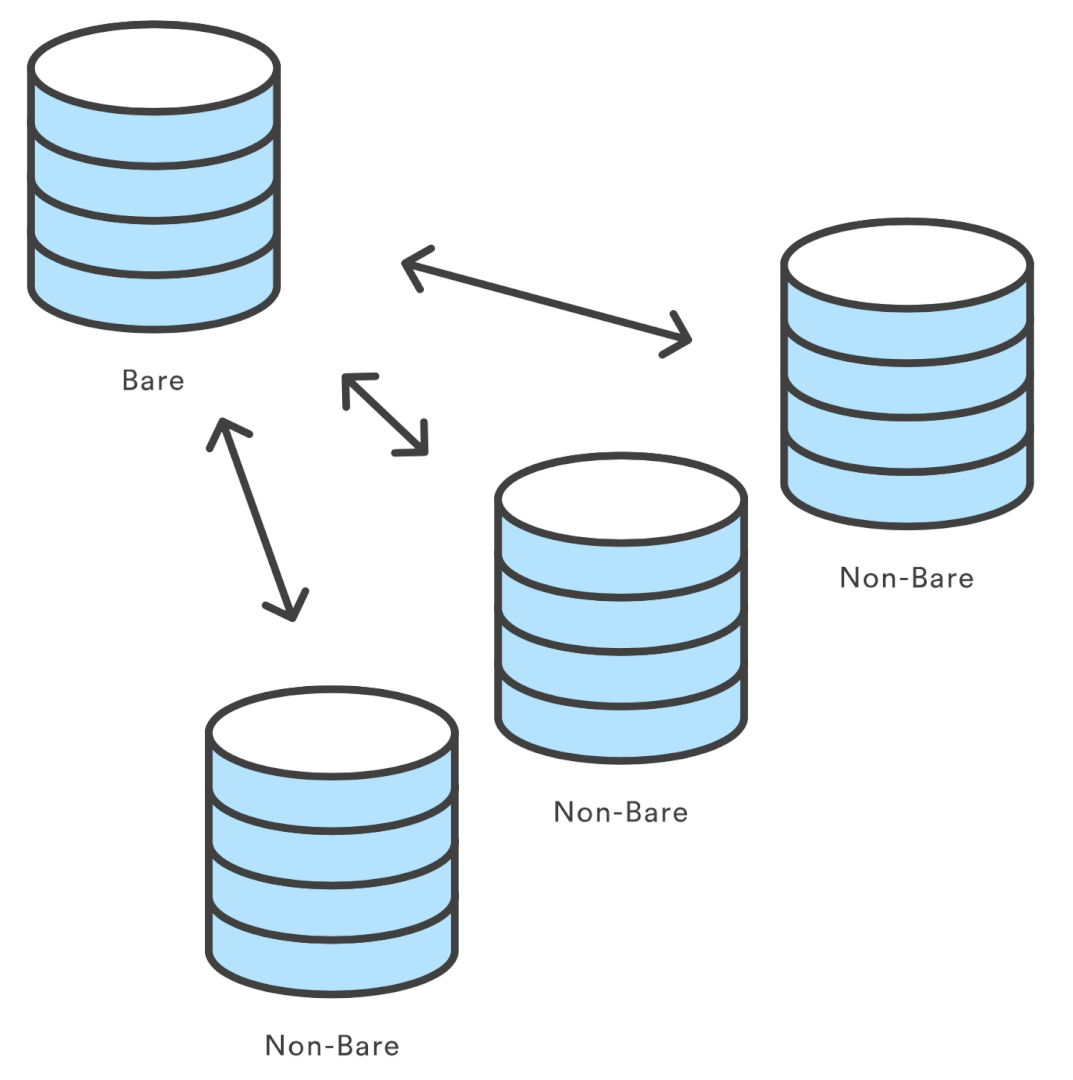
其中,bare仓库不包含工作区,目录中不包括项目源代码,不能直接在bare仓库上直接提交变更。

连接服务器仓库

假设在本地文件系统中创建,目录位置为~/Documents/git-server/demo.git,则可以使用以下命令克隆或关联服务器仓库:

1
2
3
git clone ~/Documents/git-server/demo.git # 直接clone代码,本地可不用加user@localhost
git remote add origin ~/Documents/git-server/demo.git # 或是添加为远程origin

如果是使用AWS的EC2这样的服务,若文件目录位置为/home/ec2-user/projects/git-repo.git,服务器地址为aws.waterstrong.me,用户名为ec2-user,则同样可以克隆或关联远程仓库:

1
2
3
git clone [email protected]:/home/ec2-user/projects/git-repo.git # 直接clone
git remote add origin [email protected]:/home/ec2-user/projects/git-repo.git # 或添加origin

在创建bare仓库时,可以在给文件目录命名时加上.git后缀,也符合平常使用Git地址的习惯,这样,就可以像平常一样使用Git操作了。

总结

平时在使用git init命令时,是初始化一个普通的Git本地仓库,而为了创建服务器仓库,可以使用git init --bare <repo>命令,bare仓库没有工作区,不能对其直接提交变更,但可以被正常地clone, push, pull等操作。


References