本文是一篇Workshop演练指南,Ansible Workshop Step by Step ,旨在通过Workshop形式快速掌握Ansible的常用命令和基本用法,俗话说得好:Practice Makes Perfect!
注:所有操作均在Mac系统,Linux系统类似。
Step 1. Set up the environment on Mac Install Ansible Brew Install 可以采用Homebrew 进行安装:1
2
3
brew install ansible
brew install --upgrade ansible
Pip Install 还可采用Python的pip 包管理工具安装:1
2
3
sudo pip install ansible
sudo pip install --upgrade ansible
Install VirtualBox if not have one 1
brew install Caskroom/cask/virtualbox
或在VirtualBox官网下载 进行安装。
Install Vagrant if not have one 或在Vagrant官网下载 进行安装。
Vagrant up base on existing Vagrantfile 1
2
3
4
git clone https://github.com/Waterstrong/ansible-workshop.git
git checkout step1
cd ansible-workshop/vagrant
vagrant up
验证登录虚拟机成功后退出:
Test Ansible Connection 1
2
cd ..
ansible -i inventory all -m ping
若连接成功返回:1
2
3
4
192.168.33.100 | SUCCESS => {
"changed" : false ,
"ping" : "pong"
}
Unreachable Solution 如果连接不成功返回:1
2
3
4
5
192.168.33.100 | UNREACHABLE! => {
"changed" : false ,
"msg" : "Failed to connect to the host via ssh." ,
"unreachable" : true
}
可能原因是之前已经在~/.ssh/known_hosts中有相同的记录,可以通过ssh命令确认:
如果确实报错:1
2
3
4
5
6
7
8
9
10
11
12
13
@@@@@@@@@@@@@@@@@@@@@@@@@@@@@@@@@@@@@@@@@@@@@@@@@@@@@@@@@@@
@ WARNING: REMOTE HOST IDENTIFICATION HAS CHANGED! @
@@@@@@@@@@@@@@@@@@@@@@@@@@@@@@@@@@@@@@@@@@@@@@@@@@@@@@@@@@@
IT IS POSSIBLE THAT SOMEONE IS DOING SOMETHING NASTY!
Someone could be eavesdropping on you right now (man-in-the-middle attack)!
It is also possible that a host key has just been changed.
The fingerprint for the ECDSA key sent by the remote host is
SHA256:JIdGdnPGRJcOZd1ZMiisaPesCr3I0/o00agtrOGNYYA.
Please contact your system administrator.
Add correct host key in /Users/sqlin/.ssh/known_hosts to get rid of this message.
Offending ECDSA key in /Users/sqlin/.ssh/known_hosts:50
ECDSA host key for 192.168.33.100 has changed and you have requested strict checking.
Host key verification failed.
可通过执行以下命令解决:1
ssh-keygen -R 192.168.33.100
或者可直接修改known_hosts文件,找到该记录并删除:1
sudo vim ~/.ssh/known_hosts
Environment Ready 环境搭建完成,准备工作结束,关闭虚拟机:
Step 2. Inventory Practice 当前工作目录为ansible-workshop,演示使用Inventory文件来指定受控资源列表。
配置虚拟机Host2 现在可以再加入一台虚拟机,随后会在inventory中进行配置1
2
3
mkdir vagrant2
cd vagrant2
vagrant init ubuntu/trusty64
修改Vagrantfile并加入以下配置:1
2
3
4
5
config.vm.network "private_network" , ip: "192.168.33.101"
config.vm.provider "virtualbox" do |vb|
vb.name = "ansible-workshop-host2"
end
启动第二台虚拟机后再回到上一级目录:
配置Inventory加入新Host2 创建名为hosts的文件,配置虚拟机的Host和Group:1
2
3
4
5
6
7
8
9
[ubuntu]
192.168.33.100 ansible_ssh_user=vagrant ansible_ssh_private_key_file=vagrant/.vagrant/machines/default/virtualbox/private_key
[ubuntu2]
192.168.33.101 ansible_ssh_user=vagrant ansible_ssh_private_key_file=vagrant2/.vagrant/machines/default/virtualbox/private_key
[myserver:children]
ubuntu
ubunt2
测试是否ping得通 测试一下应该两台都可以正常访问:1
ansible -i hosts myserver -m ping
可能需要多次输入yes回车确认加入key fingerprint,当然也可在ansible.cfg中配置参数关闭提示。当连接成功结果为:1
2
3
4
5
6
7
8
192.168.33.100 | SUCCESS => {
"changed" : false ,
"ping" : "pong"
}
192.168.33.101 | SUCCESS => {
"changed" : false ,
"ping" : "pong"
}
也可以单独ping某台虚拟机:1
ansible -i hosts ubuntu2 -m ping
Step 3. Playbooks, Roles and Tasks Practice 创建playbooks 写一个Playbook,命名为setup_server.yml:1
2
3
4
5
6
7
---
- hosts: myserver
become_method: sudo
become: yes
roles:
- install_tools
创建roles和tasks 在ansible-workshop目录下创建文件roles/install_tools/tasks/main.yml1
2
3
4
5
6
7
8
9
10
---
- name: Ensure update cache
run_once: no
apt:
update_cache: yes
- name: Ensure serveral components installed
apt:
name: "{{item.value}} "
state: installed
with_items: "{{packages}} "
在ansible-workshop目录下创建文件roles/install_tools/vars/main.yml1
2
3
---
packages:
- { name: 'Git' , value: git }
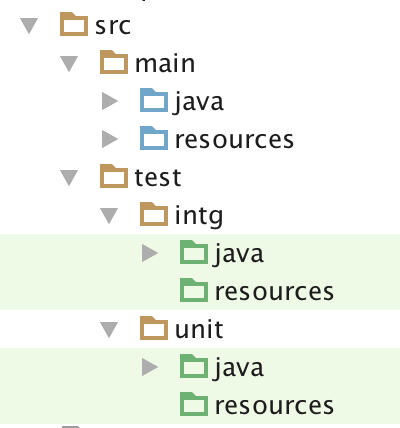
当前目录结构如下:1
2
3
4
5
6
7
8
9
.
├── hosts
├── roles
│ └── install_tools
│ ├── tasks
│ │ └── main.yml
│ └── vars
│ └── main.yml
└── setup_server.yml
运行playbooks安装Git 运行Playbooks命令如下:1
ansible-playbook -i hosts setup_server.yml
最后执行完成显示:1
2
3
4
5
6
7
8
9
10
11
12
13
14
15
16
PLAY [myserver] ****************************************************************
TASK [setup] *******************************************************************
ok: [192.168.33.100]
ok: [192.168.33.101]
TASK [install_tools : Ensure update cache] *************************************
ok: [192.168.33.100]
TASK [install_tools : Ensure serveral components installed] ********************
ok: [192.168.33.100] => (item={u'name' : u'Git' , u'value' : u'git' })
ok: [192.168.33.101] => (item={u'name' : u'Git' , u'value' : u'git' })
PLAY RECAP *********************************************************************
192.168.33.100 : ok=3 changed=0 unreachable=0 failed=0
192.168.33.101 : ok=2 changed=0 unreachable=0 failed=0
Step 4. Install Apache2 Server Practice 安装Apache2 修改文件roles/install_tools/vars/main.yml并添加一行安装Apache2的条目:1
2
3
4
---
packages:
- { name: 'Git' , value: git }
- { name: 'Apache2' , value: apache2 }
Git下载代码 通过git clone下载静态页面代码测试服务器,首先创建一个role的task文件roles/git_clone_file/tasks/main.yml并写以下内容:1
2
3
4
5
6
7
---
- name: Ensure repo clone and update to apache directory
git:
repo: "https://github.com/Waterstrong/ansible-workshop.git"
version: "page"
dest: "/var/www/html/page"
update: yes
配置重启Apache服务 创建一个role的task文件roles/start_apache2/tasks/main.yml并配置:1
2
3
4
5
6
7
8
9
10
---
- name: enabled mod_rewrite
apache2_module:
name: rewrite
state: present
- name: restart apache2
service:
name: apache2
state: restarted
当前目录树结构为:1
2
3
4
5
6
7
8
9
10
11
12
13
14
15
.
├── hosts
├── roles
│ ├── git_clone_file
│ │ └── tasks
│ │ └── main.yml
│ ├── install_tools
│ │ ├── tasks
│ │ │ └── main.yml
│ │ └── vars
│ │ └── main.yml
│ └── start_apache2
│ └── tasks
│ └── main.yml
└── setup_server.yml
运行playbook并测试服务器 在目录ansible-workshop目录下运行命令测试:1
ansible-playbook -i hosts setup_server.yml
成功执行完成后可访问http://192.168.33.100/page 和http://192.168.33.101/page 测试是否部署页面成功。
Step 5. Ansible Galaxy Practice 通过Ansible Galaxy快速安装Jenkins。在Ansible Galaxy 上搜索找到Jenkins对应的Role,比如选择geerlingguy.jenkins 。
下载Jenkins的role到本地 首先下载role到本地:1
ansible-galaxy install geerlingguy.jenkins
下载role安装成功后得到以下信息:1
2
3
4
5
6
7
8
9
- downloading role 'jenkins' , owned by geerlingguy
- downloading role from https://github.com/geerlingguy/ansible-role-jenkins/archive/2.1.1.tar.gz
- extracting geerlingguy.jenkins to /usr/local /etc/ansible/roles/geerlingguy.jenkins
- geerlingguy.jenkins was installed successfully
- adding dependency: geerlingguy.java
- downloading role 'java' , owned by geerlingguy
- downloading role from https://github.com/geerlingguy/ansible-role-java/archive/1.4.0.tar.gz
- extracting geerlingguy.java to /usr/local /etc/ansible/roles/geerlingguy.java
- geerlingguy.java was installed successfully
特别注意其中的路径/usr/local/etc/ansible/roles/geerlingguy.jenkins,会在接下来的role中用到。
创建安装Jenkins的playbook 在ansible-workshop目录创建一个安装jenkins的playbook setup_jenkins.yml,目前只把第一台虚拟机作为CI服务器:1
2
3
4
5
6
---
- hosts: ubuntu
become_method: sudo
become: yes
roles:
- /usr/local/etc/ansible/roles/geerlingguy.jenkins
其中的role为之前安装的文件路径。
运行命令执行安装 1
ansible-playbook -i hosts setup_jenkins.yml
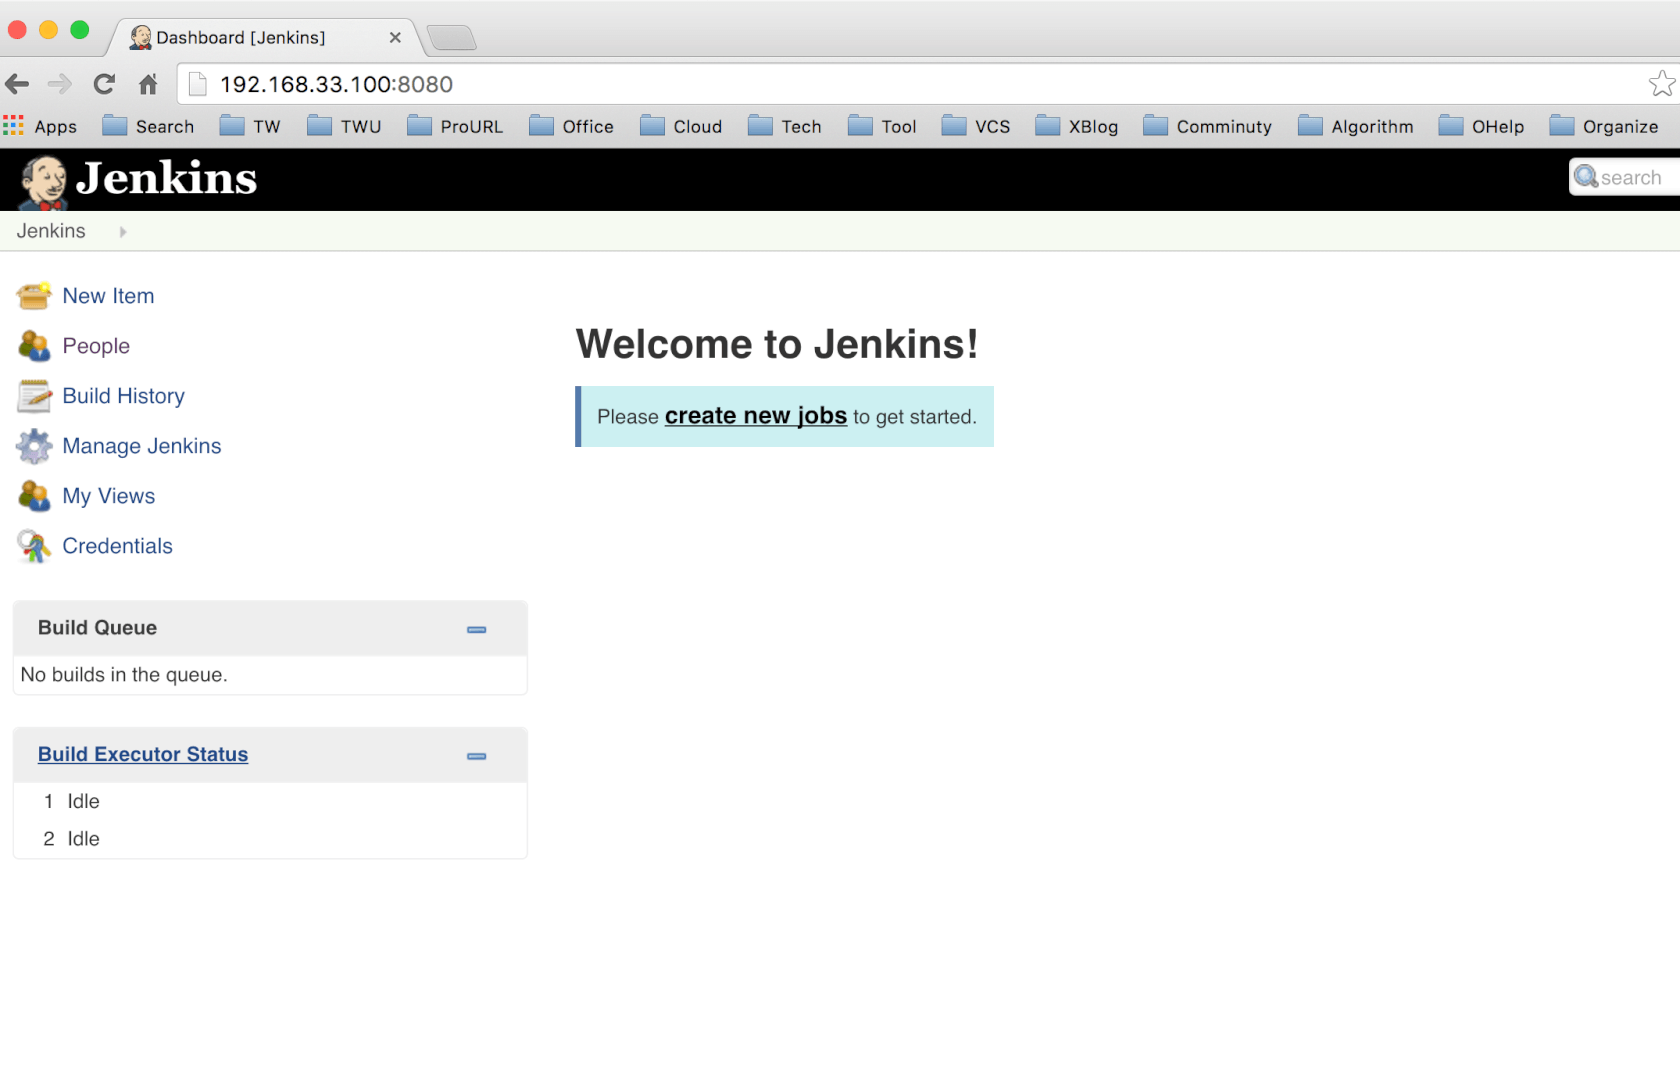
可能会花较长的时间,请耐心等待。安装成功后可以访问Jenkins Home页面http://192.168.33.100:8080 或Jenkins CLI页面http://192.168.33.100:8080/cli ,然后可以开始使用Jenkins了。admin 密码: admin
Workshop结束语 Thanks everyone! You can halt your virtual machines and destroy them to reduce your computer resoures.ansible-workshop directory and execute the below commands:1
2
3
4
5
6
7
cd vagrant
vagrant halt
vagrant destroy
cd ../vagrant2
vagrant halt
vagrant destroy
References